

I’ve finally done it… after 2 years of photographing the skies, I have finally taken a picture of every single Messier object in the sky! All 110 of them!
| Date: | June 20-21, 2023 |
| Location: | Cottonwood Spring, Joshua Tree National Park |
| Time | 22:00-4:00 (UTC-7) |
| Weather | clear with light breeze; 80°- 60° F |
| Bortle Scale | 3 |
| Elevation | 3,000 ft |
| Landscape | High Desert |
Equipment Used
- 8″ (203 mm) f/4.9 Newtonian Telescope
- Atlas II EQ-G Mount
- Orion 50mm Guide Scope w / Starshoot Autoguider
- Nikon d5300
- Meade Telextender 2X Barlow Lens
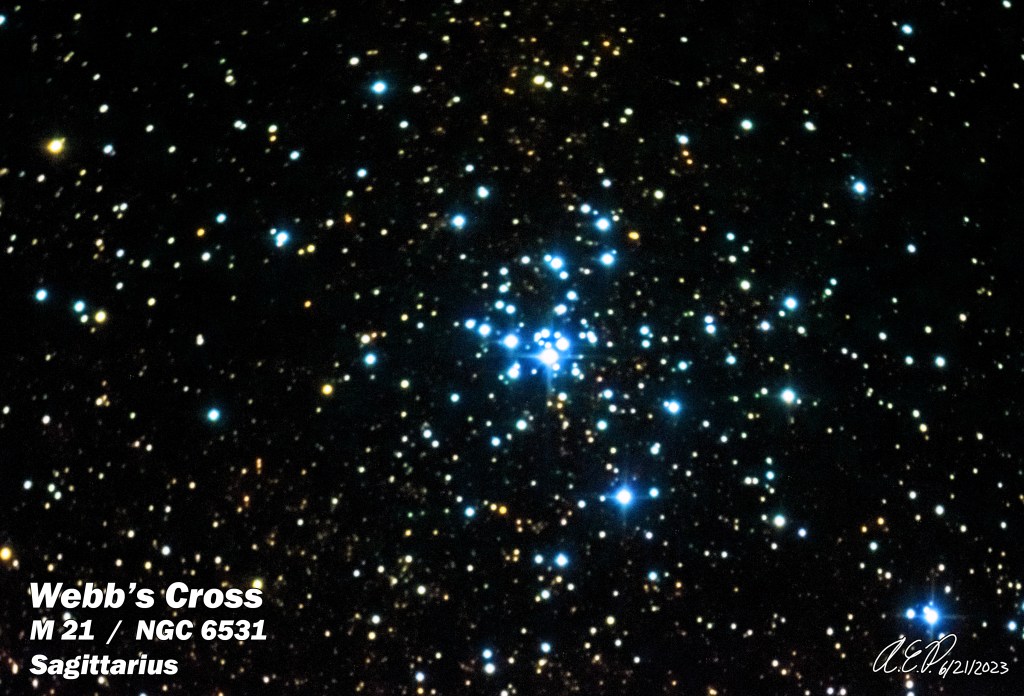
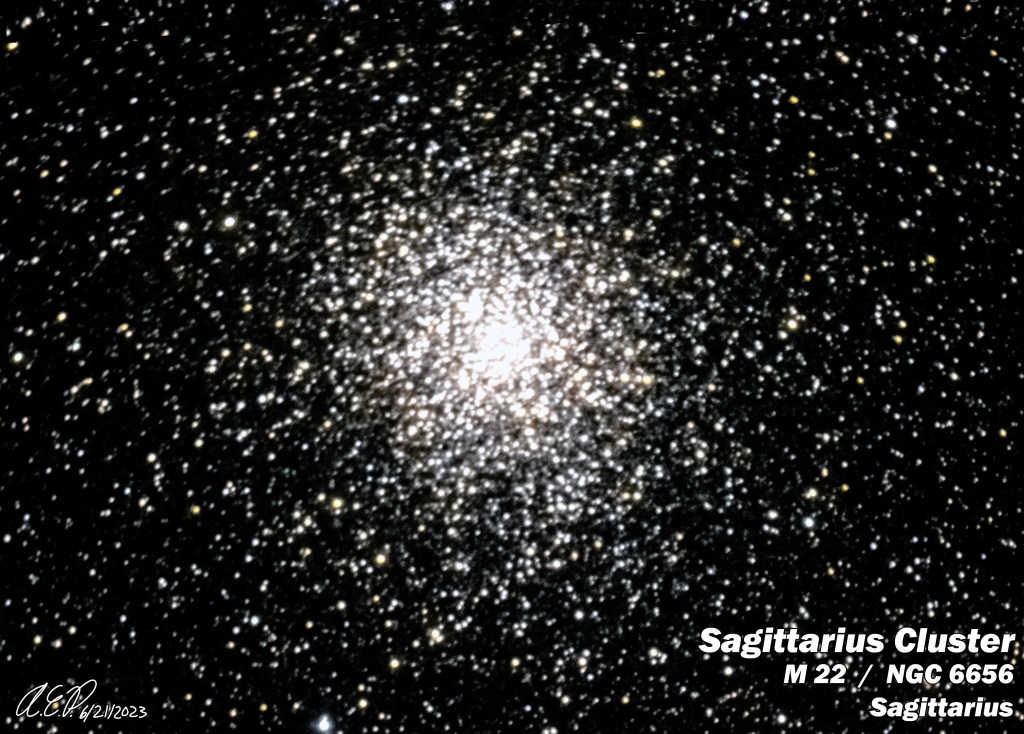
Because this was one night short of Summer Solstice, that meant I was only going to have about 6 hours worth of true night sky between periods of astronomical twilight. I started my imaging focusing on the Southern sky containing Ophiuchus, Scorpius, and Sagittarius.


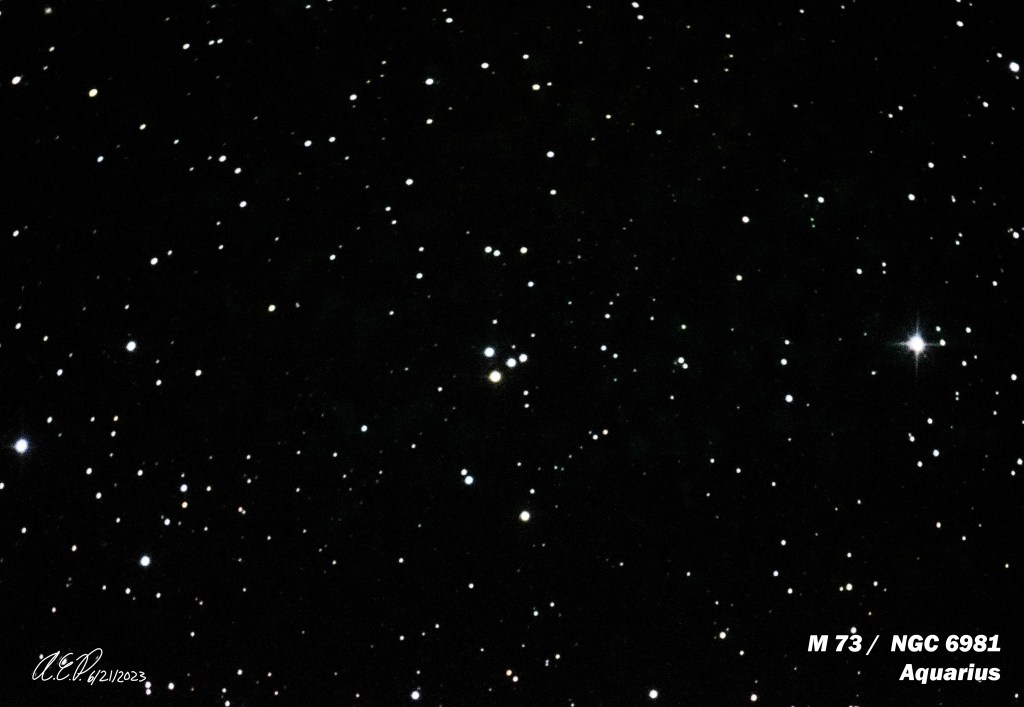
The remaining three objects for me to shoot were M 72, 73, and 75… and as two of them were in Aquarius, I had to wait until they rose high enough in the sky.
The rest of the night was business as usual, even with a “gas attack” that at times was uncomfortable. I actually didn’t start feeling better until I was “dancing around” to the astronomy and science inspired heavy metal music I was playing on my external speaker. Because there was nobody else parked at the Spring for the night, I had the speaker on full blast!
Instead of f/5 1000mm focal length, I shot at f/10 2000mm focal length using a really good Barlow lens because I knew that the three remaining objects would appear small in a few arc-minutes across, so I needed to magnify them.

I’m really proud of the capture I did with the Eagle Nebula… as shooting at F/10 meant higher noise to compensate for the 3-5 minute max exposure times that my Atlas II mount could handle before the OTA was too heavy for the guiding.
For processing, I’ve learned to do a “false RGB” composite… which means while I do gather about an hours worth of exposure data to layer together in photoshop, first I take the images and combine them into a black and white image… then I do the same again, only this time play with the white balance settings to give the image a red hue… then green, then blue… and use the opacity settings to blend them together. Lastly, then I combine the original exposures into a single color image, and blend that over the “false RGB” layers… as a way of blending the pixel noise on the detail, sharpening it, and removing the bad pixel noise.


After I was finished with the three remaining messier objects, which made me remember “oh… that’s why I didn’t want to touch them before… these objects are nothing to sneeze at compared to the others,” I decided to give the Helix Nebula a try… and the processing method I used as described prior definitely has results that speak for themselves!

Stay tuned for a poster version of my Messier object collage!
