

Some objects can look spectacular in high magnification, while other’s won’t no matter how much you use.
This page is meant to serve as a general guide for what you can expect at certain magnifications while using your telescope! This is purely visual, not photographic!
This is a large article, so be sure to find sections dedicated to specifics, the solar system, and deep sky objects!
What You Need To Know!
Know your Focal Length and Theoretical Limit
To determine magnification, you divide the focal length of the telescope by the focal length of the eyepiece. For example, if your telescope has 1000mm in focal length and you’re using a 25mm eyepiece, then you’re using 40x magnification. It’s THAT easy!
It is also important to know your theoretical magnification limit on your telescope, because if you go above the theoretical limit, then the details will look too mushy. To figure this out, the rule of thumb is 50 times the aperture of your telescope in inches, or two times the aperture in millimeters. The theoretical limit on my 8″ Skyview is 406x, and I only try going that high if the seeing conditions are good enough… see the next section below!
The resolving power is calculated by dividing 4.56 by the aperture in inches (or 116 by the aperture in mm). As such, my 8″ (203 mm) wide telescope can resolve as small as 0.57 arc seconds across. a 4.5″ (114 mm) scope can resolve as small as ~1 arc-second across.
Do you know how tiny Pluto appears from Earth? 0.1 arc-seconds!
Seeing Is Everything!
More often times than not, the local conditions in the atmosphere determine how much you can magnify or “zoom” before it gets too blurry and distorted. The post, What Makes A Good Sky to Observe In? further elaborates on choosing your ideal sky and talks more about seeing conditions – which is essentially how steady the air above is.
Under excellent seeing conditions, you can easily still resolve details past 200-300x magnification, and on rare occasions even push beyond your telescope’s limit and enjoy impressive views. However, under poor conditions where the air above is very turbulent, such as nights where it’s windy for example, then objects will can appear like they’re under water even at low magnification.
Remember how we talked about resolving power with aperture? Surely the 200 inch Hale Telescope at Mt. Palomar can resolve some details on Pluto because its resolution power is 0.022″ and should handle Pluto’s angular size of 0.1″ right? Nope! Most nights our atmospheric seeing limits even the best earth-based telescopes to resolving details as small as 1″ across.
So the nights where I observe the rings of Saturn at a really high magnification above 300-400 times magnification are very rare.
Here is the General FOV Width in Degrees and Arc Minutes per Magnification!
25x ~ 2° FOV
50x ~ 60′ or 1° FOV
100x ~ 30′ or ½° FOV
150x ~ 20′ or 1/3° FOV
200x ~ 15′ or ¼° FOV
300x ~ 10′ or 1/6° FOV
There will be some variances depending on the the apparent field of view (essentially meaning how wide the barrel and your vision is), and of course the arc-minutes and degrees listed above are not exact figures, they’re rounded to give a general idea how much of the sky you’re covering through a telescope.
Hypothetically, if you want to get a planet like Jupiter or Saturn to take up a large portion of your FOV, you need to go higher than 3,000x. Good luck resolving anything with that!
With all of this out of the way, here is what you can expect at certain magnifications!
The Solar System
The Moon

25-30x – still looks small in the FOV, but you can still start making out large features on the surface depending on the phase.
40-80x – During crescent and first/third quarter phases, the view of all the larger craters is spectacular! For eclipses, up to 60-80x is the most you should zoom so the entire disc is still visible in your FOV.
100x – The disc of the moon now fills up your entire FOV inside the eyepiece, unless you are viewing a thin crescent in the middle. The closer views of the larger and smaller surface features offer a good variety.
200x – Your entire FOV covers about half the surface of the moon. You start seeing smaller features you didn’t know were there, such as small peaks inside craters!
300x and above – You start feeling like you’re flying above the surface of the moon. Larger craters that looked tiny at lower magnifications now take up the entire view! You need excellent seeing conditions for these tiny features to look still enough to see, otherwise the Moon will look way too soupy.
Jupiter

Below 50x – The planetary disc is small and white, but you can still see up to four star-like points in a line, which are in fact its own moons orbiting the planet. This is what Galileo saw in 1611, hence why they’re nicknamed “the Galilean Moons.”
50-100x – The Galilean Moons appear more spread out, and you can barely start to see the striped pattern of brown and white cloud bands
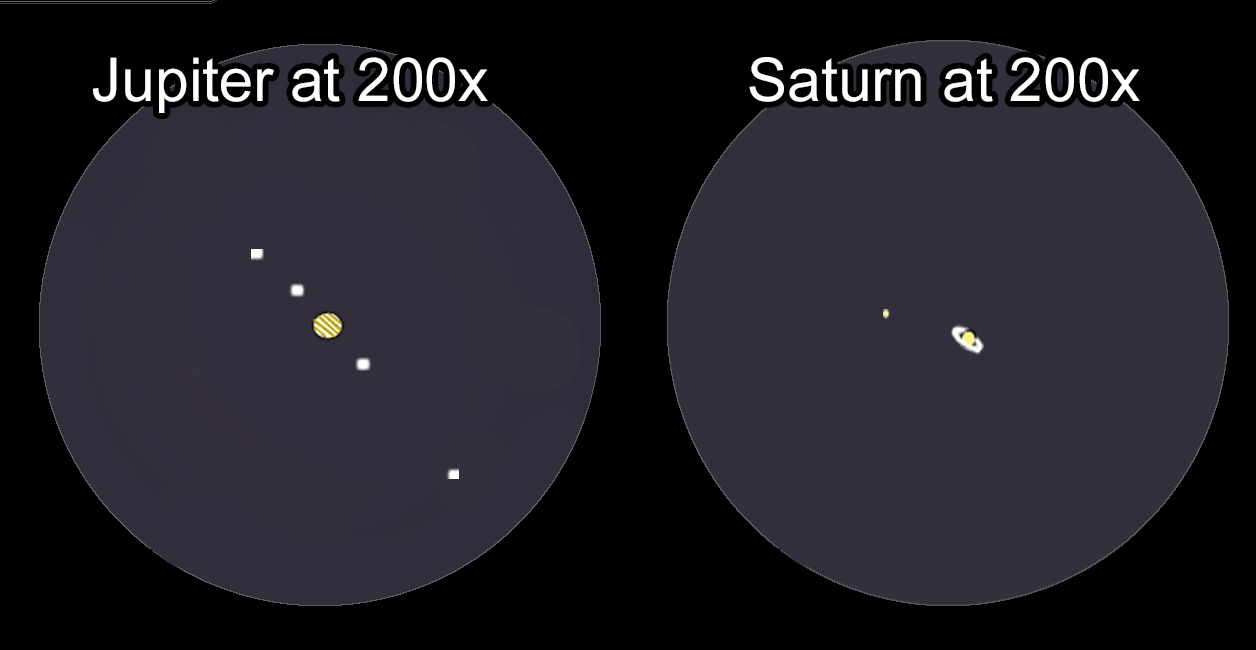
100x – This is a great all around view of Jupiter, as you can see cloud detail on the planet, and see all four moons all in the same FOV. The Great Red Spot can also start being seen as well as a tiny orange colored dot on the planet (if it’s on the side facing Earth).
200x – Details on Jupiter are a lot more visible, and the Great Red Spot looks like a small circle. If one of the Galilean Moons is transiting, if you look at just the right time, you can see them gradually stick out of the side of Jupiter like a pimple. If any of the Galilean Moons are passing directly in front of Jupiter, it is possible to see their shadows being projected on the face of Jupiter – a solar eclipse is occurring on the planet. Io’s shadow will move the fastest over time, while Ganymede’s shadow will be the largest.

400x and above – If the seeing conditions are great, then it is possible for you to begin seeing very tiny “swirls” in the lines between the light and dark colored cloud bands. The Galilean moons no longer look like little points, and start being resolved as tiny dots! While Io and Europa will consistently remain in the FOV (if not directly in front of or behind the planet), Calysto and/or Ganymede can get cropped out due to their wider orbits around Jupiter.
Saturn

Below 50x – Looks like a tiny eye in space, or an oblong shaped planet depending on the tilt of the rings. If Saturn’s rings are tilted exactly towards earth, they are almost invisible. Saturn’s biggest and brightest moon Titan can be spotted close to the planet.
100x – The rings are now easily visible, though to some they still make Saturn look like an eye. A sharp eyed viewer can see the yellow color of the planet and the white color of the icy rings. Titan, being the biggest and brightest Cronian (Saturnian) moon will be the easiest to spot, while Rhea and Iapetus will be the next two brightest. Rhea is usually closer to Saturn while Iapetus is further out, and they are about 2.5x and 16x dimmer than Titan respectively. Other moons are dimmer than Iapetus, may be too dim for smaller telescopes – they are also much closer to the planet itself.
200x – Detail on the rings are now visible, especially if they are tilted at just the right angle. One such detail is the Cassini Division, which looks like a black stripe on the rings. Another detail is the outline of the planet as the rings go behind it. If you look closely, you can see different shades of yellow on the planet as well! Iapetus may be cropped out of your FOV due to its wider orbit around Saturn.
400x and above – Assuming the seeing conditions allow, Saturn will look as good as any picture you may have seen it. The Cassini division and different shades of yellow should be obvious at this point! The smaller and dimmer moons such as Dione, Tethys, Enceladus should have enough angular separation from the planet to be easily detectable, though their brightness may make it difficult under light pollution or with smaller telescopes.
It should be noted that during years where Saturn’s Rings are tilted directly towards Earth, the Cronian moons will appear to transit in front of or behind the planet similar to Jupiter’s moons. But in years when the rings are not pointed at Earth, then we can observe the moons to orbit around Saturn from above or below. This is because the moons and rings share the same orbital plane around Saturn!
Venus

Venus is bright enough to be observed with telescopes during the day if the planet is far enough away from the Sun’s glare. When it is further away from the sun, you can see it in the night sky for up to a few hours before it either sets or gets lost in twilight.
Below 40x – This is about the same level of magnification that Galileo had. As he could see the phases of Venus with his small telescope, so will you! When Venus is in a crescent phase, it’s very obvious, and it’s fun to see inexperienced users confuse it with the Moon. As Venus gets further away, the crescent gradually switches back to a full circle, yet the angular size shrinks.
40x and above – Since Venus is covered with white carbon dioxide clouds, you will only see a white planet whether it is day or night. Increasing the zoom will make the phases much easier to see, especially the phases for when Venus is further away from us than our Sun.
During Solar Transits – With a proper Solar Filter, Venus is large enough to be seen as a black dot moving across the Sun even with the naked eye! Through a telescope, the disc is obvious even at low power, and the sight is a super rare treat. Missed the last one in 2012? Sorry, chances are you won’t be alive for the next one in 2117.
Mars

Because of Mars’ small size and the distance between Earth and Mars varies a lot, a good view of Mars is surprisingly not as common as you think. At its furthest, it barely looks like a red dot, but when it has close approaches near oppositions, then its angular size allows some details to be seen.
Below 100x – Mars appears like a bright rusty salmon colored orb. Depending on its distance, it’s either a really bright star, or a tiny disc in your FOV.
100x – IF the planet is close enough and the air is steady, the apparent size is almost as big as Jupiter, and you can start making out darker albedo features and even an ice cap if you know where to look. But if the planet is far away, good luck seeing any features!

200x and above – If Mars is close enough under good seeing conditions, then it definitely appears impressive. Usually, if you can see some darker albedo features and the ice caps, then you have a good view. If you cannot, even zooming in higher will not fix the problems. Colored filters may help bring out some of the details.
Mars is so dusty and full of haze that it will take a night of good seeing, plus a skilled photographer that can process stacked images to make the planet look like it does in pictures.
Mercury
Mercury is much harder to spot because of its close proximity to the sun in the sky. But ever so often, it gets far enough to be visible when the sun is below the horizon. Still, it’s a small planet, therefore it won’t appear that big.
below 100x – Mercury still appears star-like in your telescope.
100x and above – Like Venus, Mercury also exhibits phases, but you don’t glimpse them until you reach 100x. The higher you go, the phase shape appears bigger in your FOV and is much easier to see, but the planet will still appear white due to its distance.
During Solar Transits – In rare events when Mercury is directly crossing the face of the sun, you can see a tiny black dot – the disc of Mercury – gradually move across the sun’s disc. Since Mercury is so small, it’s almost impossible to see with the naked eye using eclipse glasses, but through projection methods, or through telescopes with proper filters, the transit is easily seen even at lower magnifications.
Uranus and Neptune

There is not much difference between these two planets when it comes to night sky observing. While both planets are similar in size, Uranus will have the advantage of being closer and brighter. If you can find Uranus, then you can find Neptune as well, but don’t expect them to be spectacular like Jupiter and Saturn. No matter how much magnification you use, they will just appear as tiny discs with their own distinct colors.
Below 100x – Both Uranus and Neptune appear star-like and can be indistinguishable from background stars. Use a good star chart to figure out which one is in fact the planet you’re looking for. You should notice that the planets’ lights are steadier than the surrounding twinkling stars. Uranus will have more pale cyan color, while Neptune will have a distinct blue azure color.
100x – Uranus starts showing a tiny pale cyan colored disc. It appears about as big as Mars appears when Mars at its farthest distance from Earth. Neptune still appears like a pale blue star.
200x and above – Though still small, Uranus’ disc is much more obvious and it starts looking like a planet. Neptune starts showing a blue tiny disc if the air is steady. The more you increase in magnification, the dimmer the planets will appear, hence the larger your telescope, the easier it’ll be to observe!
Apart from Titania and Triton, the largest moons of Uranus and Neptune respectively, none of the numerous moons between the two ice giants will be bright enough to detect through most backyard telescopes. You’ll need at least an 8″ telescope to be able to spot either one, and if your eyes can’t see them, then a few seconds of exposure can bring them out.
Deep Sky Objects

Always refer to your stargazing app or any information you get regarding the angular size. Remember that the Sun and Moon are usually about 30 arc minutes (“) across or half a degree – which we can use as a starting point. You can go back to the general FOV section regarding how much of the sky you’re seeing with any magnification. Something that covers over a degree of the sky is definitely best viewed with a low power eyepiece, or even binoculars – but there are some exceptions!
How GOOD the deep sky object appears will always be a result of many factors such as the aperture of the telescope, the optical quality, the conditions of the sky, the amount of light pollution that is present, and lastly, how good the eyes of the individual observer are.
There’s two things to remember
- The WIDER the scope, the more light being gathered – hence the brighter the object appears. Larger scopes also resolve details better as well, and you see more “depth” to the deep sky versus smaller scopes.
- The more you magnify, the less light you allow, hence the dimmer the object will be! Most Deep Sky Objects will be best viewed with the widest focal length eyepiece you have!
Double Stars
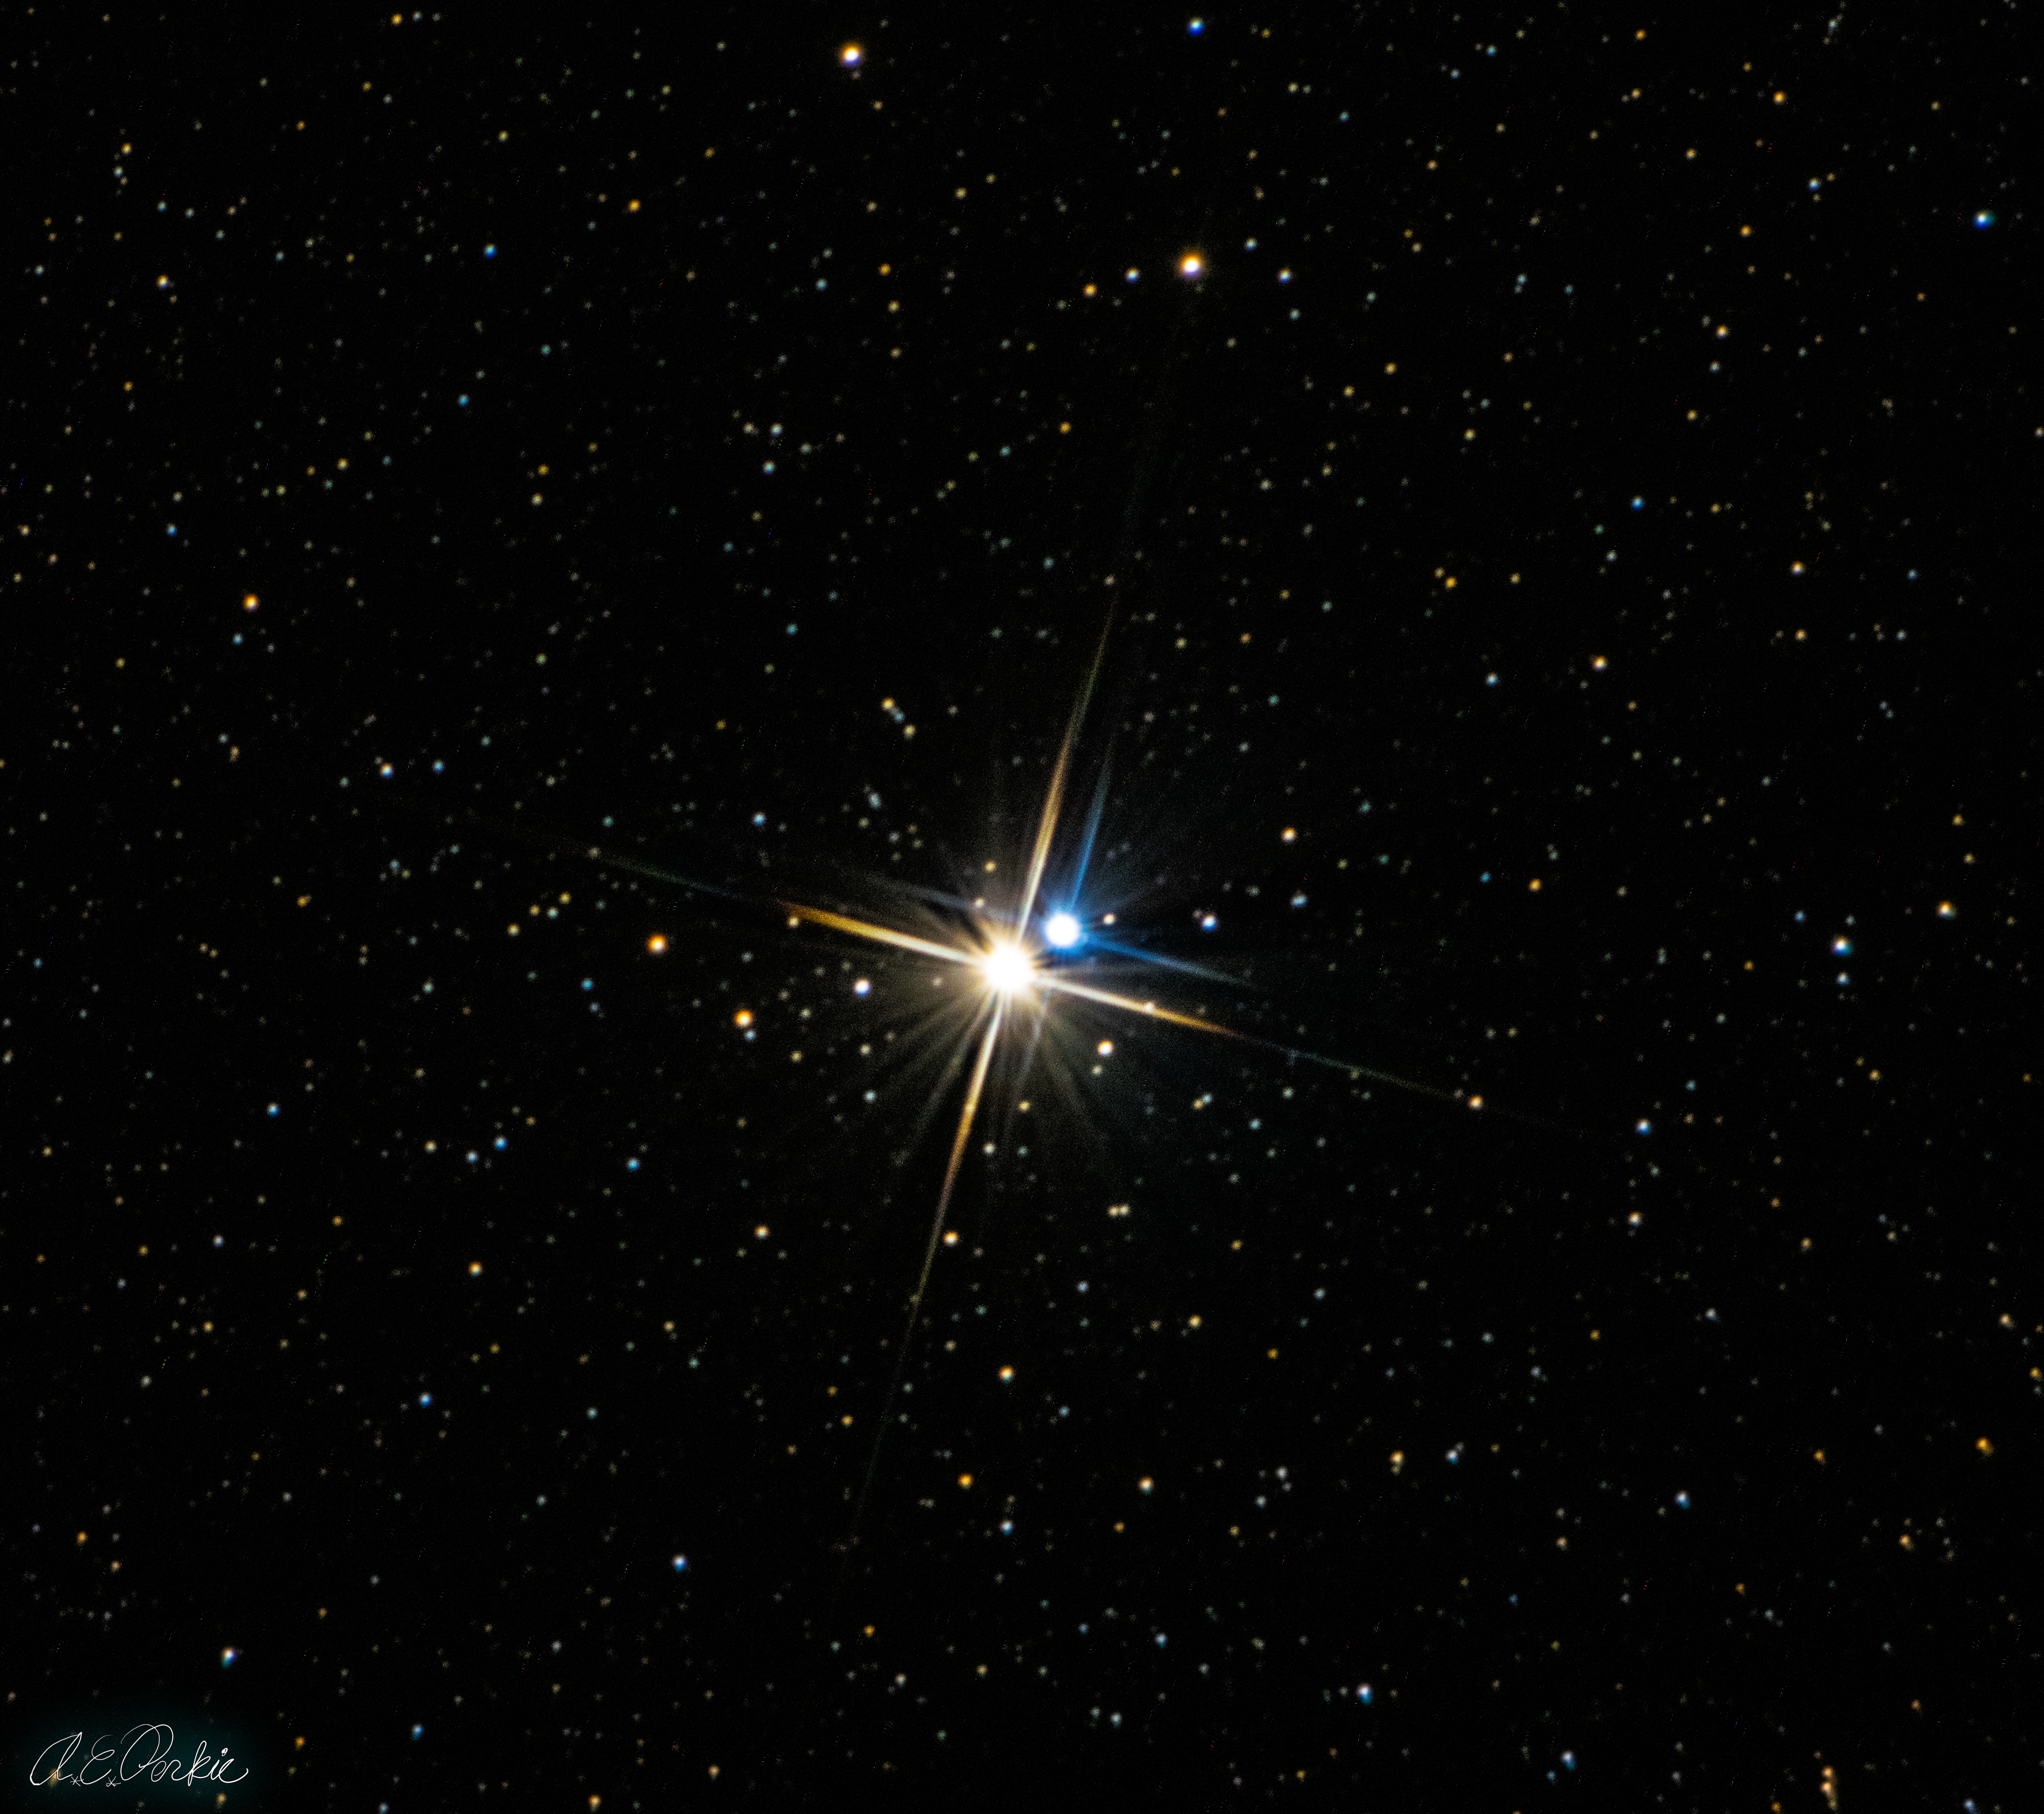
It depends on the angular separation between the two companions. If they’re separated enough, they are resolved well at low power, but others will require a minimum amount of magnification to resolve the angular separation. While you could divide 300 by the A.S. to see where you can start resolving the double into individual stars, you should divide 750/A.S. to have the best minimal magnification. Here are some famous examples.
Name – 750/A.S. = best minimal magnification
Alberio – 35″ = 21x
61 Cygni – 25″ = 30x
“The Double Double” – 2″ = 375x
Castor – 6″ = 125x
Algieba – 4″ = 187.5x
Almac – 9.6 = 78.125x
Keep in mind that seeing conditions may make it difficult to resolve double stars tighter than 2″ in separation, plus you risk making it appear dimmer and magnifying more than you can resolve.
Open Clusters
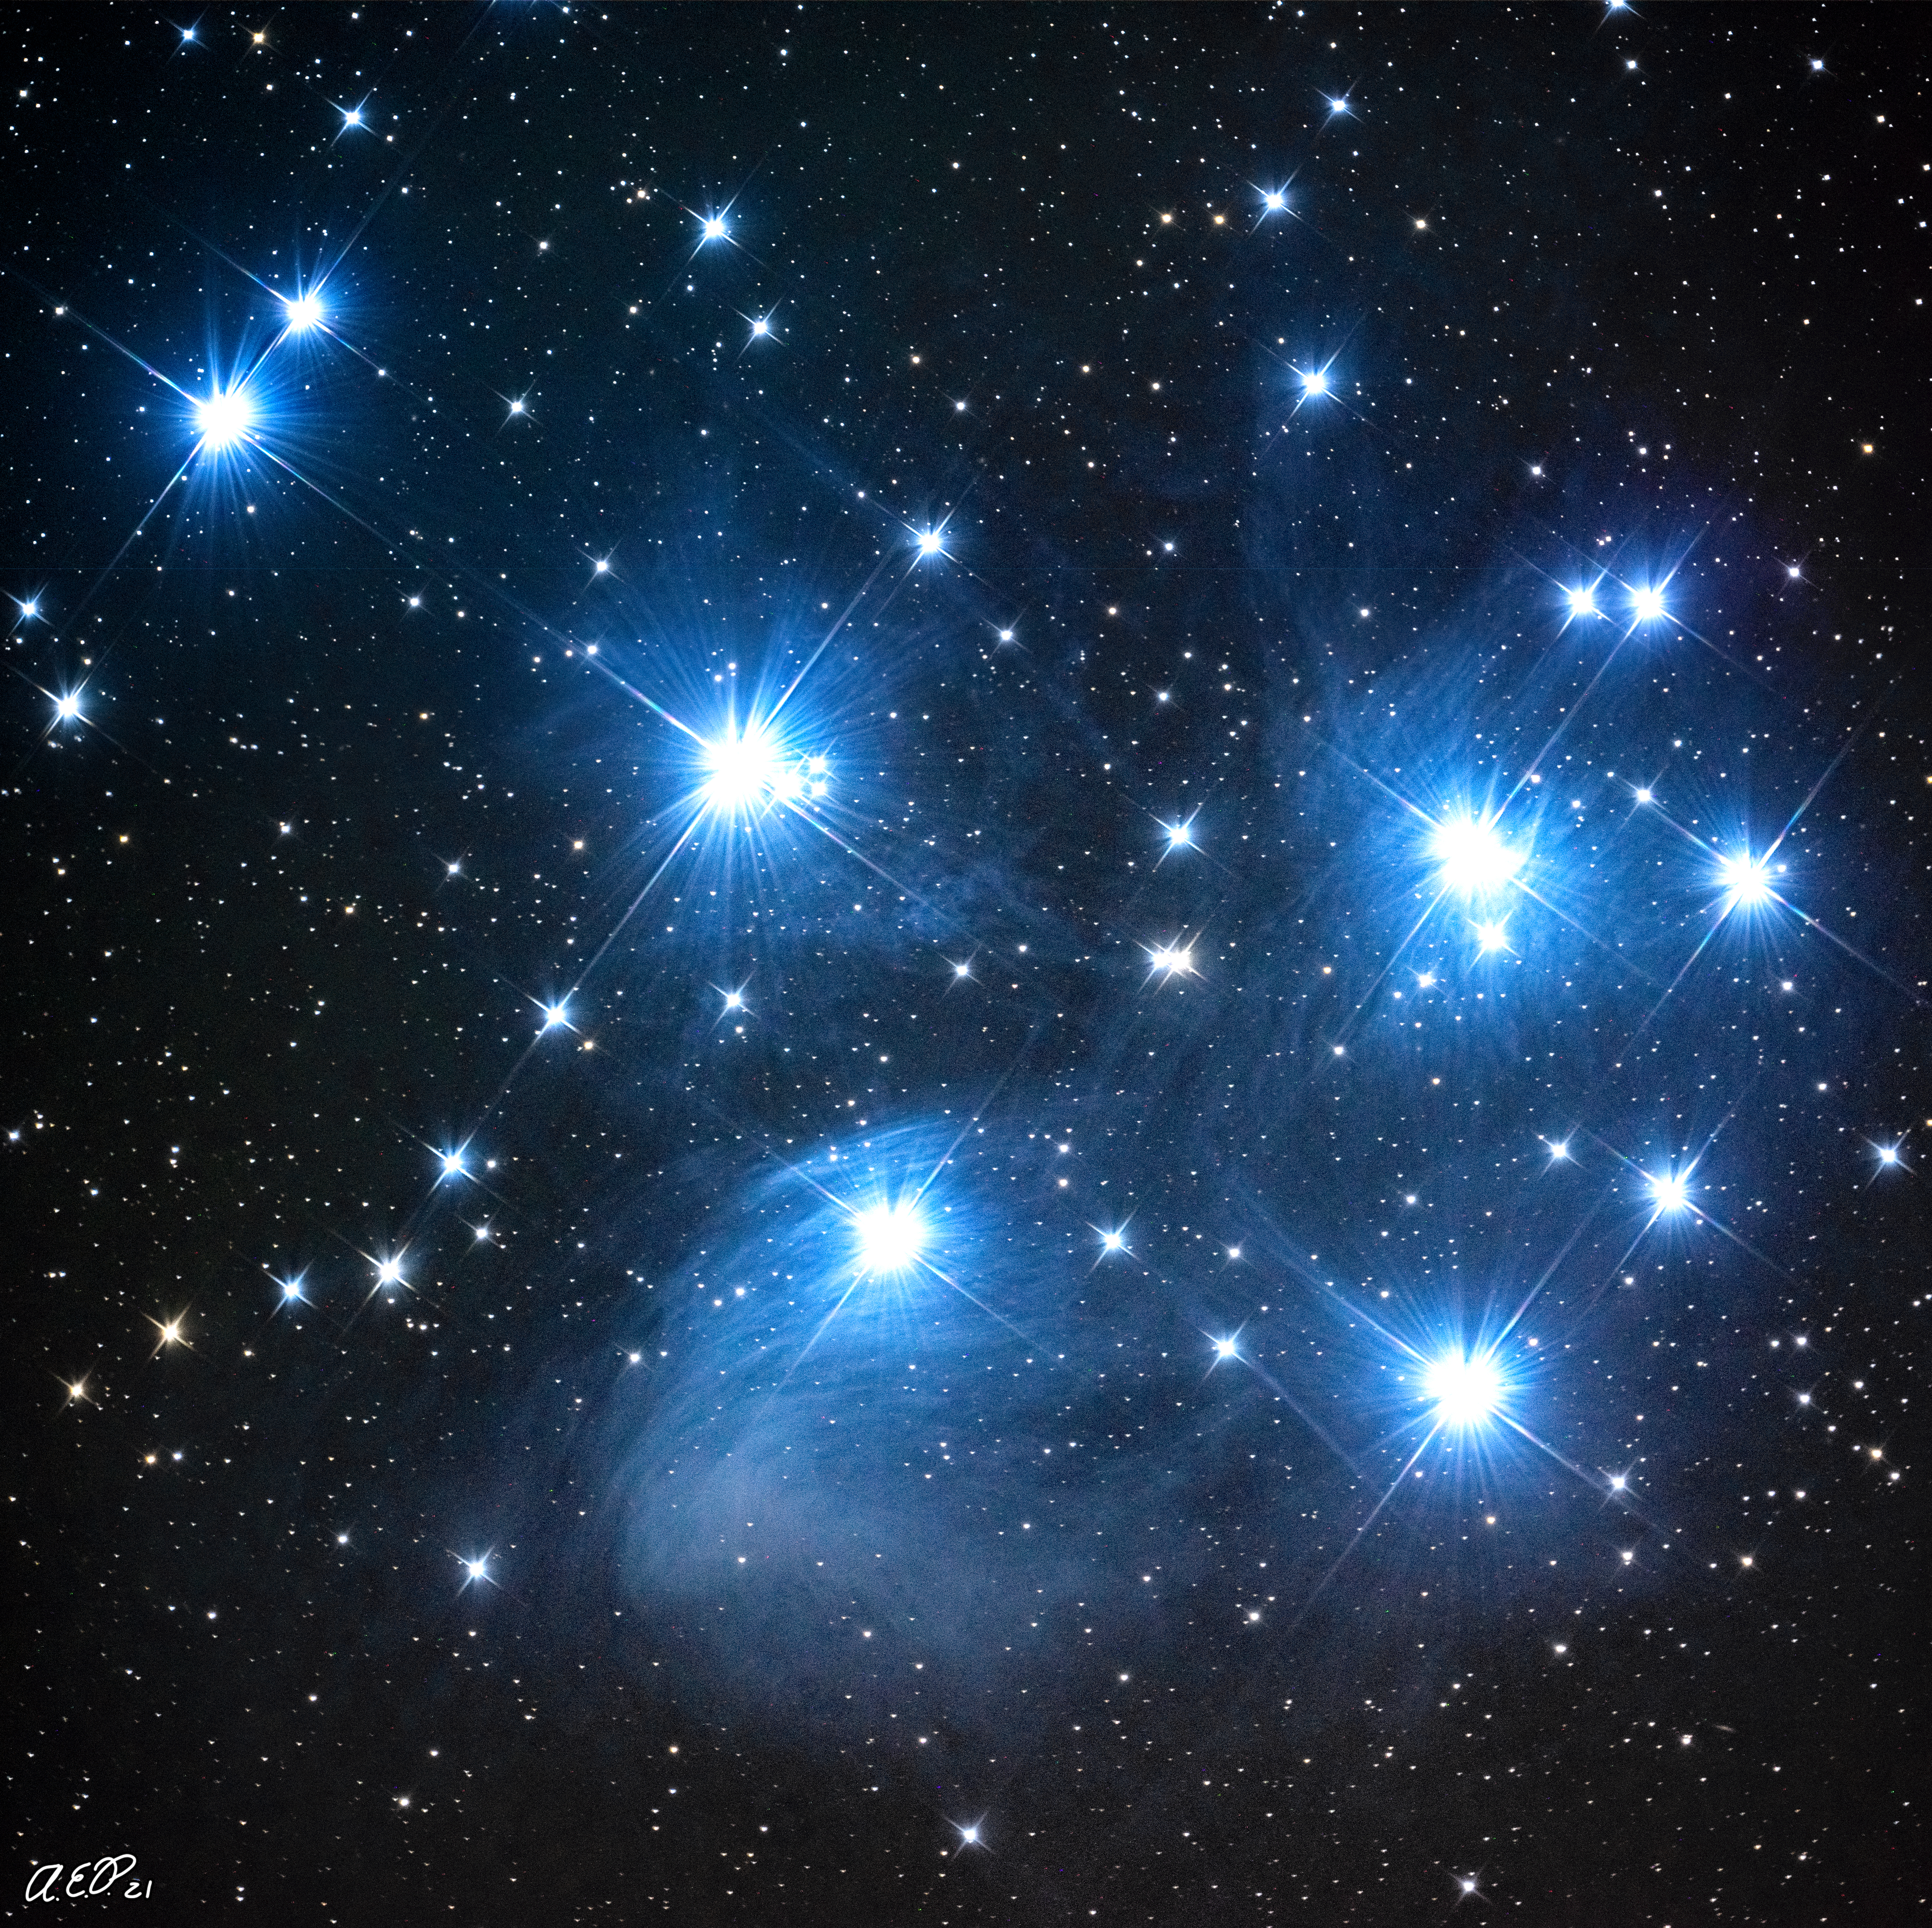
Some open clusters such as the Pleiades are visible with the naked eye, and through a telescope should only be viewed at LOW power to see the entire cluster. Others such as The Double Cluster (Caldwell 14), Ptolemy’s Cluster (M7), and Beehive Cluster (M44) are visible as fuzzy smudges to the naked eye, and through binoculars/ telescopes at low power reveal large groups of stars. Some of them form shapes after their namesakes, such as Caldwell 13 (the Owl Cluster), M6 (Butterfly Cluster) and M11 (Wild Duck Cluster).
Nebulae
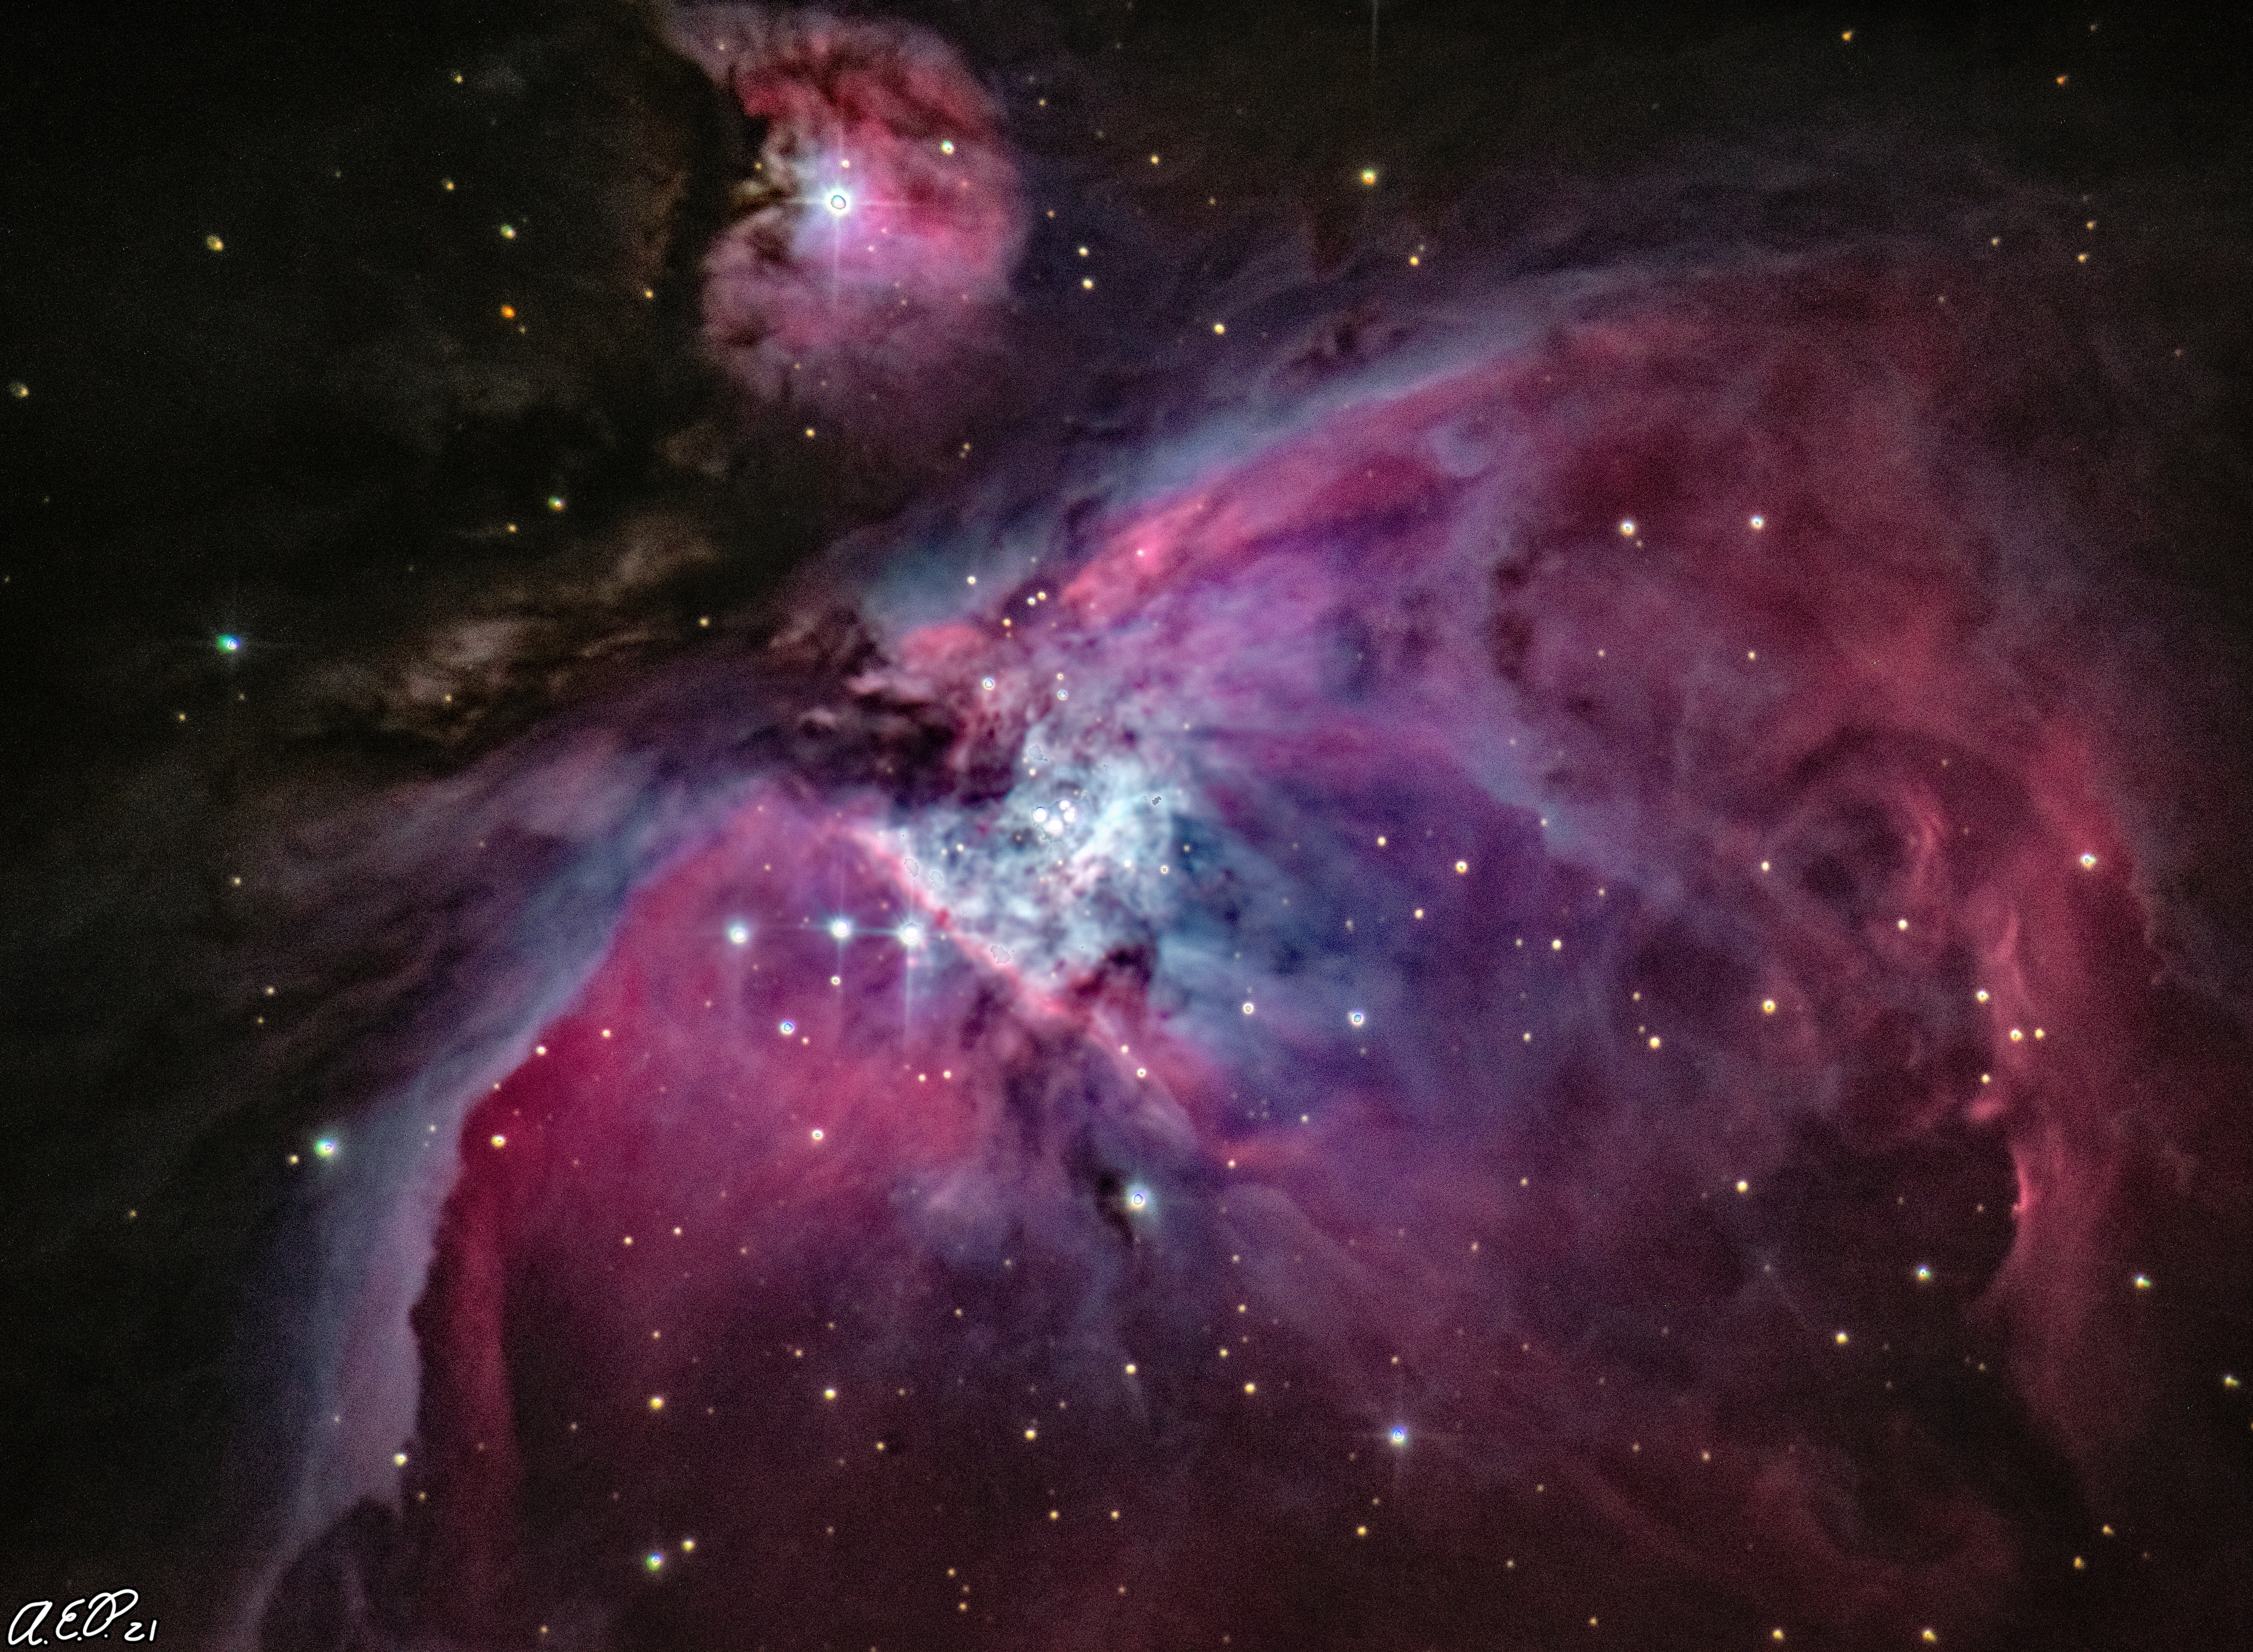
You can see some structure and glow from the gas clouds. but don’t expect them to look bright and colorful or as complex as their pictures – they will appear grayscale and dim. Medium to large nebulae (10-30′ or larger) are best viewed at low power, with one exception – M42 (the Orion Nebula) looks great at any magnification. With that said, the nebula itself must be bright enough to even glimpse visually, and may only be visible with a filter in use, or through long exposure astrophotography only – or both!

Smaller Planetary Nebulae ( 2′ or less), like M57 (the RIng Nebula) require high magnification to resolve the details, but because they’re not very bright, they are difficult to glimpse with smaller telescopes.
Globular Clusters
At first, when you find them, they look like dim, gray, fuzzy snowballs in space. Large and bright globular clusters that are about 20′ or larger like M4, M5, M13, M22, and C80 (Omega Centauri) are an absolute treat to resolve at medium to high power because they begin to look just like their pictures. Having a large enough scope under a dark enough sky is the icing on the cake!
Smaller and dimmer globular clusters hence won’t look as good through smaller scopes, and will be more of a notch on your list of objects you’ve seen.
Galaxies
Galaxies are notoriously disappointing when visually observed, mostly because of how dim they appear. Are there a select few that look impressive through larger aperture telescopes under dark enough skies? Yes indeed; galaxies such as M 51 and M 101 can allow visual observers to glimpse their spiral arms through 11″ telescopes or larger. But most of them, even if they are spiral galaxies like the two mentioned before, will just look like dim gray smudges with no structure other than their central core regions.
It’s honestly more fun to see how many of these “smudges” you can spot, especially when scanning the section of the sky that makes up the Ursa Major, Canes Venatici, Coma Berenices, Leo, and Virgo constellations – most prominent during the Spring months in the Northern hemisphere. There are plenty of patches where one can see more than one galaxy in the same telescopic view – such as the pair of M81 and M82, and the Leo Triplet!
Thank you for visiting this website and seeing this post. Be sure to check out other features on this website for more astrophotography, plus more telescope tips!
Keep Looking up!
Support Your Neighborhood Astronomers!
You know where mainstream media sites get their information? From people like us! Support Your Neighborhood Astronomers! Everything is free, but donations help keep the website alive and go towards outreach events!
$1.00

Thank you so much! I’ve been looking for some help online that explains this exactly as you have done here!
LikeLike
You state, under “Deep Sky Objects”, the following:
“Remember that the Sun and Moon are usually about 30 arc minutes (“)…”
The symbol for arc minutes is (‘) and for arc seconds (“).
LikeLiked by 1 person
Thank you for the heads up! I’m bound to do typo’s every now and then.
LikeLike